The drawings look straightforward. The specification is agreed. The client is happy. The kit arrives on site. And then on day one of the install, someone cuts into the ceiling and discovers exactly where the hot water pipes run, where the concrete beams actually sit, and where the air-conditioning ducting has to be moved to accommodate the projector lift.
This is the reality of installing a serious media room or home cinema inside an existing residential property. The idealised specification meets the realities of 1970s plumbing, 1990s AC ducting, and concrete floor slabs that weren't drawn in detail anywhere the installer can access.
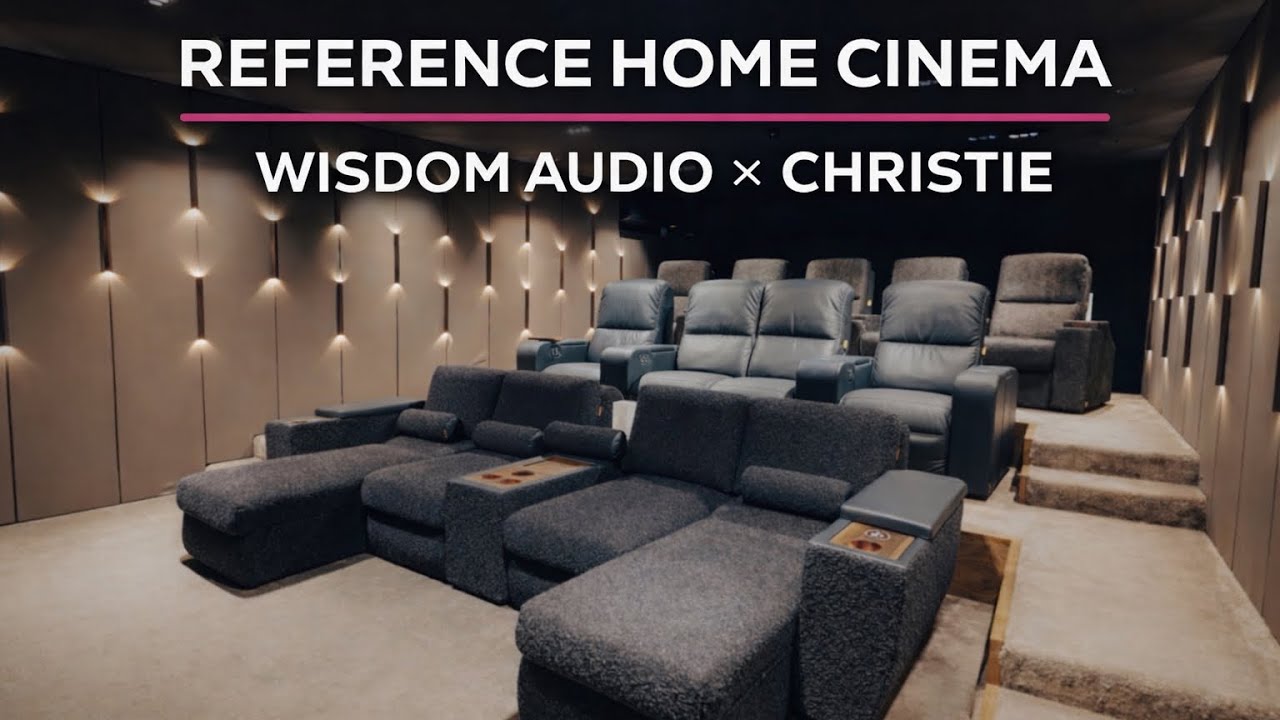
Zebra Home Cinema documented a build in progress — a compact entertainment-lounge / media-room installation inside an existing home, with full Atmos surround, in-ceiling speakers, a 3-metre Screen Research screen, and a drop-down projector lift. What follows is the on-site reality that the final installation photos never show.
Day One — Clearing the Room, Sheeting Everything, Setting Up the Camera
The first day of any cinema installation into an existing room is preparation. Not cable-pulling, not speaker-mounting — preparation.
The team's day-one checklist:
- ▪Clear as much furniture as possible from the room. Anything that can leave, leaves.
- ▪Sheet the floor — plastic-backed dust sheets, taped at the seams.
- ▪Build a temporary dust wall across the back of the room to isolate the cinema from the rest of the house. This project's room had a bar full of bottles at the rear that couldn't be moved. The team built a plastic-backed partition wall across it instead, with a sealed bottom edge to minimise dust migration into the rest of the home.
- ▪Cover the furniture that can't leave. Some pieces simply have no place to go. Those get wrapped.
- ▪Set up the time-lapse camera for the progress record.
The point of all of this, beyond dust control, is to define the scope of the work area. Once day one's prep is done, the install team knows what they're working with — and the homeowner knows what their house is going to look like for the next two to three weeks.
The Specification
The brief for this particular room was a media-room-grade Atmos install with drop-down projection:
| Component | Specification |
|---|---|
| Screen | Screen Research 3-metre CLC (non-acoustically-transparent — because LCR are in-ceiling, not behind the screen) |
| LCR | Triad in-ceiling speakers — left, centre, right all overhead |
| Subwoofers | 2 × in-ceiling subs |
| Surrounds | 2 × side surrounds |
| Rears | 2 × rear surrounds |
| Atmos overheads | As required by the processor configuration |
| Amplification | Denon multi-channel amplification |
| Projector | Sony VPL-VW-series home cinema projector, ceiling-mounted on drop-down lift |
| Projector lift | Drop-down unit, approx. 600 mm drop |
| Central light fitting | ~500 mm drop from ceiling — required the projector lift to drop below it |
One important design note: placing the LCR speakers in the ceiling rather than behind an acoustically-transparent screen is unconventional for a reference cinema but entirely appropriate for a media-room build where the screen is the primary visual element and the ceiling speakers deliver a cleaner dialogue presentation than mid-wall mounts can in a room of this size.
The Projector Lift Problem — Concrete Beams and 200 mm of Clearance
The projector-lift installation is where day two's reality arrived. The room has concrete floor slabs above (typical for this era of British residential construction) and a suspended plasterboard ceiling below. The void between the two ran approximately 300 mm — tight but workable for most installs.
Except where the projector lift needed to go.
Exactly where the projector lift needed to sit, a pair of concrete beams crossed the void — reducing available depth to roughly 200 mm. The original projector lift wouldn't fit.
The team had to:
- 1.Assess the available depth at the specific mounting position
- 2.Source or modify a lower-profile lift system that would fit the 200 mm window
- 3.Relocate air-conditioning ducting that happened to run through the same compromised space
- 4.Rework the drop-down geometry to ensure the projector cleared the central pendant light (500 mm drop below ceiling) when extended
"Where we want to put the projector lift we've got 200 mil because there's some concrete beams. So yeah, it's a little bit more challenging than we expected."
This is the kind of snag that makes or breaks an install. On a less experienced team, it would generate a delay, a blame call, and a cost overrun. On this team, the response was to measure, re-order what needed re-ordering, move the AC ducting, and adjust the lift specification to fit.
Hot Water Pipes at Low Level — Compromising on Rear Surrounds
Day two produced the second unavoidable snag. The optimal position for the rear surround speakers put them on top of — or rather in front of — hot water pipes running at lower level than the team's plans assumed.
The choice: move the plumbing (expensive, slow, requires a plumber on site, risks finish damage across multiple rooms) or move the speakers.
The team moved the speakers. The rear surrounds are now positioned slightly outside the optimal geometric placement that would have delivered perfectly even surround performance. In real-world listening terms, the difference is well within the tolerance of room correction and the audience's perception. In idealised specification terms, it's a compromise.
This is normal. Almost every residential cinema install involves these compromises. The skill isn't in avoiding them — the building doesn't permit that. The skill is in minimising the impact of each compromise and being honest with the client about what's been traded.
Copper Pipes Over the Surround Position — The Trade-Off Decision
The other rear surround position ran into another plumbing constraint: a pair of copper pipes crossed directly over the speaker's intended mounting location.
The team's assessment: we are not plumbers, and these pipes are staying where they are.
The speakers on both sides were moved forward from their optimal positions — a matched compromise that keeps the stereo image symmetric, even though neither position is exactly where a 7.1.4 geometric diagram would place them. The original speaker holes were filled, re-boarded, and made good.
This is a piece of discipline worth naming: when a compromise is forced on one side of a surround system, mirror the compromise on the other side. An asymmetric surround field is dramatically more audible than a symmetrically-compromised one. Room correction software can't fix asymmetry; it can compensate for symmetric deviation.
What the Job Actually Teaches
A few principles emerged over the first two days of this install that generalise across any residential cinema retrofit:
- 1.Paperwork and reality diverge. The as-built condition of a residential property almost never matches the drawings. Every install team should plan for discovery — "we'll figure it out when we see it" is a mature response, not a failure of planning.
- 2.Always physical-check before cutting. The team explicitly noted: "always nice to check the physicals as well as have the paperwork." Mark the ceiling with tape before making any cut. Laser-align. Drop a plumb line. One hour of measurement prevents a day of remedial work.
- 3.Keep the room tidy. The team noted this repeatedly. A tidy site is a site where the install team can think clearly, reuse tools efficiently, and hand the room back to the client at the end of the day in a state the homeowner tolerates.
- 4.Minimise dust migration. Plastic-backed sheets, temporary partition walls across rooms that can't be fully cleared, sealed bottom edges. A dusty house is a client complaint, and can be the difference between a good install and a great one.
- 5.When compromise is forced, mirror it symmetrically. For surround speakers, an asymmetric compromise is much worse than a symmetric one. Match the deviations on both sides.
- 6.Document the build. Time-lapse cameras, daily photos, notes on every snag and its resolution. The install record is a professional artefact that helps future servicing and client trust.
Key Takeaways
- ▪Day-one preparation for a residential cinema install is dust control and scope definition rather than any actual AV work. Plastic-backed sheets, dust walls, furniture removal, and time-lapse cameras come before cables.
- ▪The as-built condition of an existing residential property almost always includes concrete beams, hot water pipes, copper plumbing runs, and AC ducting in unplanned positions that the install drawings don't capture. Every serious install should plan for at least one significant discovery snag per day.
- ▪Projector lift installation requires specific ceiling-void depth. This project had 300 mm available across most of the ceiling but only 200 mm where the lift needed to sit — forcing a lift re-specification and AC duct relocation on day two.
- ▪When speaker placement is forced off-optimal by unavoidable services (hot water pipes, copper runs), mirror the compromise symmetrically on both sides of the surround field. An asymmetric surround sounds worse than a symmetrically-compromised one.
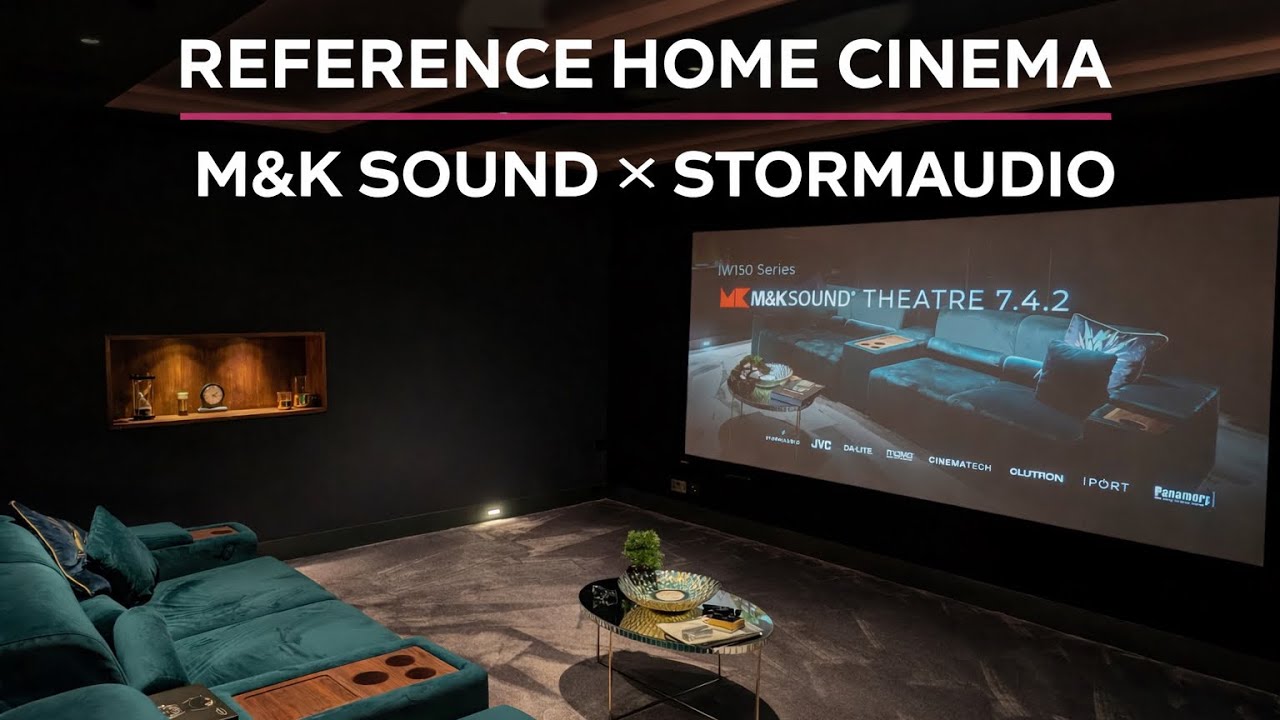
- ▪The room specification for this build paired Triad in-ceiling LCR speakers with a Screen Research 3 m CLC screen, two in-ceiling subwoofers, four surround/rear speakers, Atmos overheads, Denon amplification, and a ceiling-mounted Sony VPL-VW-series projector on a drop-down lift.
- ▪A plastic-backed dust partition wall across the rear of the room preserved the bar area's bottle inventory and minimised dust migration into the rest of the house.
Frequently Asked Questions
How long does a home cinema installation take in an existing room?
Typical timelines for a media-room build with full Atmos, a dedicated screen, and a drop-down projector lift run two to four weeks depending on complexity and any discovery snags. A greenfield installation in a purpose-built room can be significantly faster; a retrofit into an existing home with services (plumbing, HVAC, electrics) in the way is always slower and always more unpredictable.
What are the most common unexpected snags in a cinema retrofit?
Hot water pipes, copper plumbing, electrical runs, AC ducting, and structural elements (concrete beams, steel joists, load-bearing walls) that appear in positions the drawings didn't predict. These force real-time adjustments to speaker placement, projector lift location, screen positioning, and cable routing. Experienced installers plan for discovery rather than attempting to avoid it.
Can I put left, centre, and right speakers in the ceiling instead of behind the screen?
Yes — in media rooms and compact cinema rooms where the screen is non-acoustically-transparent. Triad in-ceiling speakers (and comparable specialist in-ceiling designs) can deliver a high-quality LCR image from above the listening position. In full reference cinemas with acoustically-transparent screens, mid-wall LCR placement behind the screen remains the preferred configuration.
Why do projector lifts need so much ceiling depth?
A drop-down projector lift needs room for both the projector body and the mechanism that lowers it. Typical lifts require 300 mm or more of ceiling-void depth. When concrete beams, structural elements, or services reduce the available void to 200 mm or less, either the lift must be re-specified to a lower-profile design or the mounting position must be moved.
What is a dust partition in a cinema install?
A temporary plastic-backed sheet wall built across a room or doorway to contain construction dust inside the work area. It is taped to the ceiling, floor, and side walls, with the bottom edge sealed, so that airborne dust migration into the rest of the house is minimised during cutting, drilling, and cable-pulling operations. Serious installers treat it as non-optional on any retrofit project.
What's the right speaker-placement philosophy when services block the optimal position?
Move the speaker as little as possible, then mirror the compromise on the opposite side. A symmetric pair of slightly-off-optimal surround speakers delivers a much cleaner listening experience than an asymmetric pair where one speaker sits in its ideal position and the other is displaced. Room correction software can accommodate symmetric deviations but cannot fully compensate for asymmetry.